hello Polish photo Image Map

Thursday, March 13, 2014

3.13.14

Behind the Scenes. It's my thing. The hair, the makeup, the shoots. So far in life, I've been able to grasp all these outlets aside from one: Video.
You can see the light go out in my eyes when someone mentions me making a video for any purpose. Wha, Whaaaat? I didn't even know where to begin. I opened iMovie and quickly gave up. That was about the hardest I tried.
Then, I found out you could do it in Photoshop *hears the angels singing*.  Duh, of course you can. I was an idiot for not thinking about it before, looking it up, or trying it. REGARDLESS of my ignorance, I began dabbling and have made a few things so far! I can feel this new addiction creeping in.

Here is the second video I completed. I hope to do more tutorials on YouTube soon!


xoxo

Friday, February 28, 2014

2.28.14


Life has been changing, but for the better. The potential of better, at least. Moving is a hassle, financially and physically and mentally and...you name it. Going on four years of waking up together, we do have a little practice keeping each other from getting too stressed.
With my caffeine addiction back as my friend (I tried to stay away, but she understands me), thanks to Caramel Macchiato in a carton, I had the place settled in a few weeks and wedding planning was a go. The venue and dress are the last big things on my list, but so much is done, and the date is set. The job searching has begun, and I couldn't be more excited for our adventures here.

To break in the stove, and satisfy our never ceasing sweet tooth, I made some doughnuts! My first attempt, I tried to bake them. They were less than delectable, to say the least. By that, I mean they tasted like straight flour, and I immediately spit it out. Tyler ate two of the small ones to make me feel better, but I really really don't know how. Bless his soul. They were so pretty and deceiving.
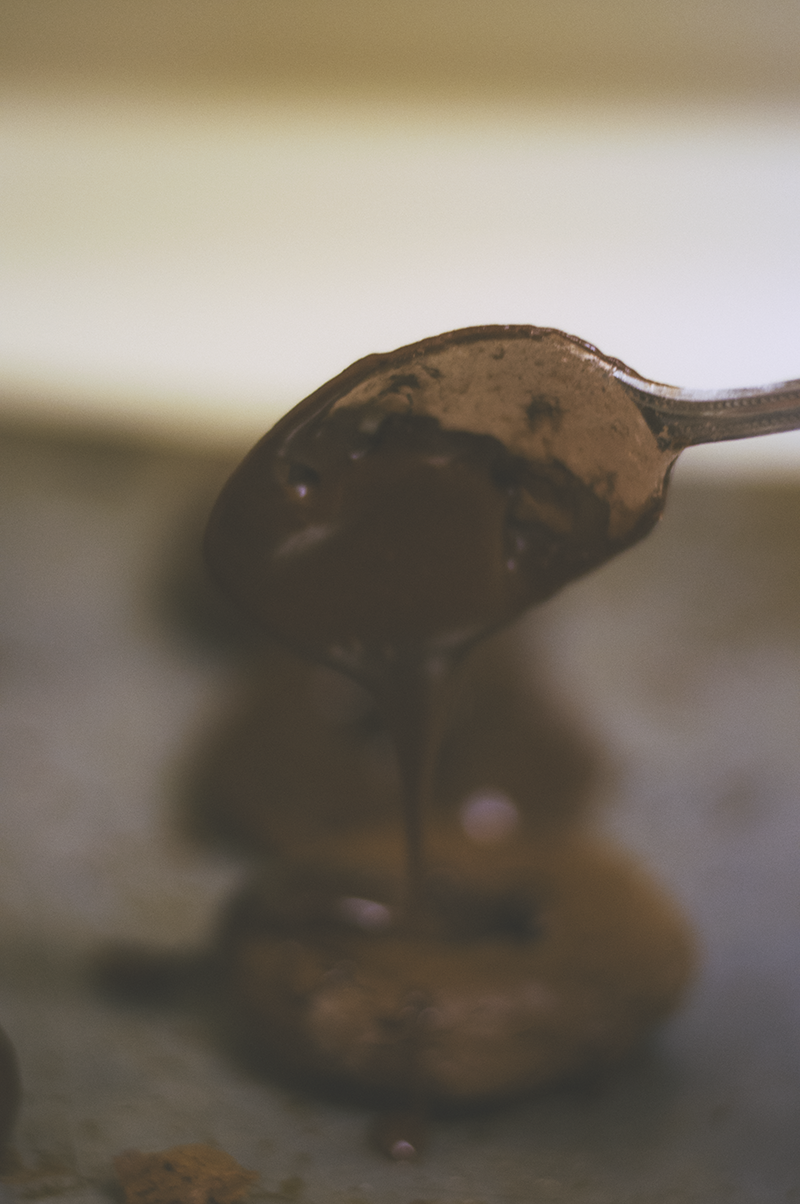
The second attempt was much better. They were fried, so of course they were better. I used this recipe, but just cut them into doughnut shapes instead of doing the holes, and made the glaze chocolate. Sooo good.


More on our new home soon. Thanks for reading
xoxo

Tuesday, February 25, 2014

2.25.14

 No one likes a flat-face Francis! Contouring can make a literal balloon look like a Kardashian.
Shall we start?

To prep, I wash my face, moisturize, apply my eye-makeup and a light coat of foundation.

1. Using a neutral concealer, I start on the inside of my face, and work my way out, beginning with highlighting the bridge of my nose and between the brows. I then apply the concealer to the underneath of my eyes in a triangular shape. Next, I highlight above my brows to define their shape, directly above my jawline, and the tip of my chin.
2. This is the part where you're supposed to look like an alien. Don't panic.
I like to use an ash (grey) based, dark concealer for my contouring. If its too warm, it can look muddy. I apply along the sides of my nose, making sure I don't leave much of the highlighted area to be shown. If the highlighted area is too wide, the nose will look larger instead. Next is the most crucial part. Find the natural dip below your cheekbone (or create your own!) and apply. It will look dark at first, but it will be blended! Continue the cheekbone application up through your hairline. I also like to continue this line to the sides of my chin, as I have a rounder face.
3. Blend by using a "blending egg" or a flat foundation brush. Regular foundation brushes will drag too much. You can pick up a blending egg at your local Sephora or Walgreen's.
I start on the nose and blend the highlighted areas by tapping them into my skin, and blend the dark areas with small, circular motions.
4. Lastly, I add blush with the same circular motions using a blush brush, applying it over my jawline and blending up a litte, as to create a slight gradient. For a more matte look, add a translucent powder over the top, or simply leave it gorgeous and dewy.

xoxo

Wednesday, December 11, 2013

12.11.13

 
Brows for days!!! If you know me personally at all, you know that I am obsessed with a good brow. Today, I hope to share with you my simple steps for a natural and defined brow.

1. I begin with grooming. I use a double sided brow brush to comb them upward and find my natural line. Tweeze anything underneath that looks out of place, while still leaving the shape. I use this brush along with a pair of small scissors to trim them. Comb upward and downward, trimming anything that appears above or below the tweezed lines. Be gentle to not trim much near the end; most brow ends are sparse. The biggest tip I can give, is to never over-tweeze, especially on the top. I leave my arch there, as I remove maybe 5 hairs from the top of my brows.

2. Anastasia Dipbrow Pomade is the best product, in my opinion! I have it in auburn.
It doesn't move but it's easy to get dimension, and isn't too harsh. Tarte Waterproof Clay Mousse is my next choice in product.
I dip the end of my angled brush in the pomade and start by drawing a line along the bottom of my brow. This should be the darkest part. Start a finger width apart from the inside of your brow because the inside should be lighter.

3. Next, I find the tip of my arch and shade it in. I drag my brush (pencil, if you prefer) from the point of the arch to the end of my brow.

4. Now I gently shade in the top, beginning from the same point as the bottom line drawn earlier, and connecting it to the arch.

5. For the middle, I turn my brush to a 90 degree angle from my face, so it is flat. I don't use any more product than what was on my brush from the previous step. I create a slightly rounded square, that is noticeably lighter than the rest of my brow. To blend, I take the brow comb and brush through them.

6. Clean-up is last. A highlighter pencil is my choice, but a concealer stick or concealer on a brush works great as well. I dust around my brows with this, defining them and removing any unwanted smudges. Blend this well.


Thank you so much for reading.
xoxo

Monday, September 30, 2013

9.30.13

In November of 2011, an awkward, curly-headed girl walked up to me as I was doing make-up at Dillards and asked, "Are you Alexa?"
Tyler refers to her as my "other boyfriend", but we just have everything in common. She's become one of my best friends, and over the course of the few years we've been close, we have grown together in so many areas of the fashion industry. Jessa is a knockout in front of the camera, and a wiz behind it.
We snapped these after a long, beautiful day, and we barely caught them in the last 10 minutes of sunlight. I sped sped sped to our location and then we tracked through the woods. These few shots are definitely worth the trouble.


Goodnight September. You've been good to me.
xoxo

Tuesday, September 24, 2013

9.24.13


 Yesterday, I had coffee with a very close friend of mine. We go way back.
It's absolutely hilarious now to think that my young teen self thought Lydia hated me, but I was so wrong. Her glances at me were not mean, just shy ones. She's awesome. We're from the same area, but we eventually bonded over our love for ALL CAPS CONVERSATIONS on facebook. We both ended up in Springfield, and I'm proud to call her my friend.
Behind her small voice is a sassy attitude and a big heart. I hope to be the wife and mom she is some day.
 Here is her lovely blog.
  
 I had a 'sweet momma sip' on ice. It was a raspberry|dark chocolate latte, and it was incredible.
If you haven't been to Big Mommas on C street, I definitely recommend it.
It was some much needed girl time, and it fixed my sweet tooth for the day. What more could I ask for?

xoxo

Sunday, September 22, 2013

9.22.13


 It's officially the first day of fall!
I love bold lips because the rest of my makeup can be simple, and I still look polished. These are some of my favorites of the season.


 1//2//3//4
Thanks for reading,
xoxo