hello Polish photo Image Map

Thursday, March 13, 2014

3.13.14

Behind the Scenes. It's my thing. The hair, the makeup, the shoots. So far in life, I've been able to grasp all these outlets aside from one: Video.
You can see the light go out in my eyes when someone mentions me making a video for any purpose. Wha, Whaaaat? I didn't even know where to begin. I opened iMovie and quickly gave up. That was about the hardest I tried.
Then, I found out you could do it in Photoshop *hears the angels singing*.  Duh, of course you can. I was an idiot for not thinking about it before, looking it up, or trying it. REGARDLESS of my ignorance, I began dabbling and have made a few things so far! I can feel this new addiction creeping in.

Here is the second video I completed. I hope to do more tutorials on YouTube soon!


xoxo

Friday, February 28, 2014

2.28.14


Life has been changing, but for the better. The potential of better, at least. Moving is a hassle, financially and physically and mentally and...you name it. Going on four years of waking up together, we do have a little practice keeping each other from getting too stressed.
With my caffeine addiction back as my friend (I tried to stay away, but she understands me), thanks to Caramel Macchiato in a carton, I had the place settled in a few weeks and wedding planning was a go. The venue and dress are the last big things on my list, but so much is done, and the date is set. The job searching has begun, and I couldn't be more excited for our adventures here.

To break in the stove, and satisfy our never ceasing sweet tooth, I made some doughnuts! My first attempt, I tried to bake them. They were less than delectable, to say the least. By that, I mean they tasted like straight flour, and I immediately spit it out. Tyler ate two of the small ones to make me feel better, but I really really don't know how. Bless his soul. They were so pretty and deceiving.
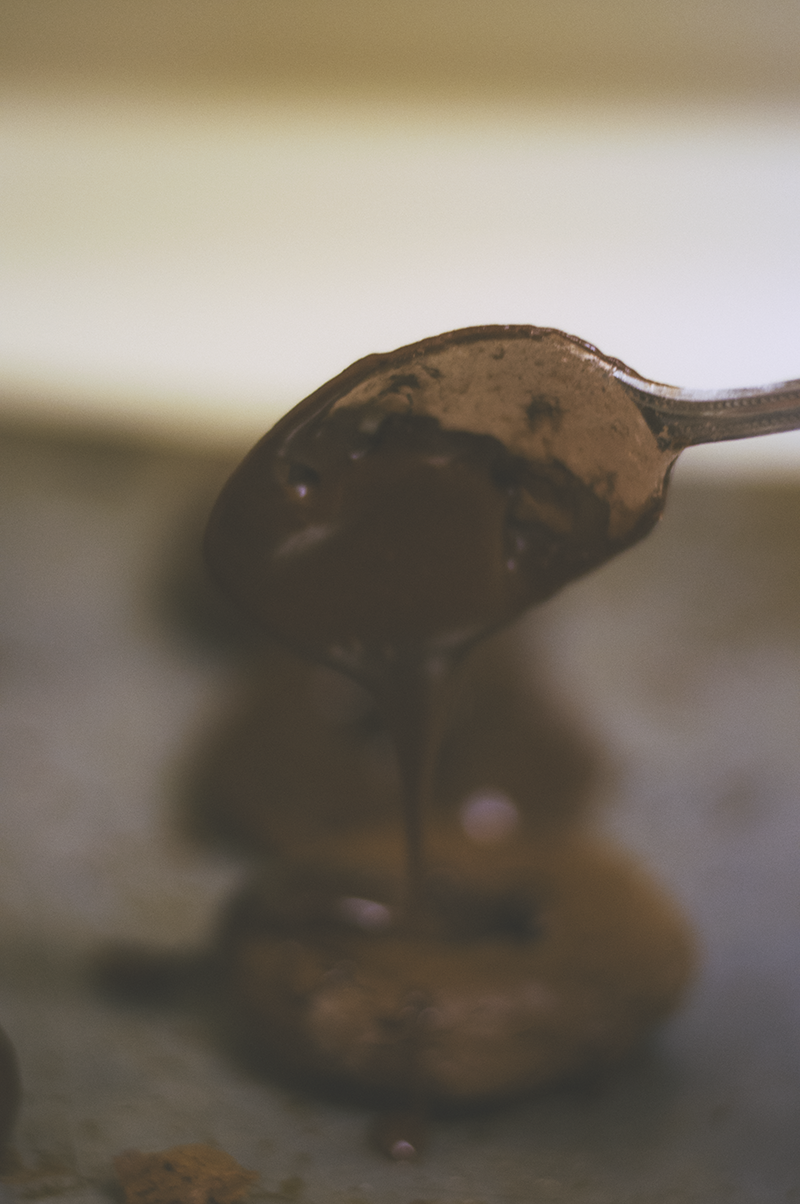
The second attempt was much better. They were fried, so of course they were better. I used this recipe, but just cut them into doughnut shapes instead of doing the holes, and made the glaze chocolate. Sooo good.


More on our new home soon. Thanks for reading
xoxo

Tuesday, February 25, 2014

2.25.14

 No one likes a flat-face Francis! Contouring can make a literal balloon look like a Kardashian.
Shall we start?

To prep, I wash my face, moisturize, apply my eye-makeup and a light coat of foundation.

1. Using a neutral concealer, I start on the inside of my face, and work my way out, beginning with highlighting the bridge of my nose and between the brows. I then apply the concealer to the underneath of my eyes in a triangular shape. Next, I highlight above my brows to define their shape, directly above my jawline, and the tip of my chin.
2. This is the part where you're supposed to look like an alien. Don't panic.
I like to use an ash (grey) based, dark concealer for my contouring. If its too warm, it can look muddy. I apply along the sides of my nose, making sure I don't leave much of the highlighted area to be shown. If the highlighted area is too wide, the nose will look larger instead. Next is the most crucial part. Find the natural dip below your cheekbone (or create your own!) and apply. It will look dark at first, but it will be blended! Continue the cheekbone application up through your hairline. I also like to continue this line to the sides of my chin, as I have a rounder face.
3. Blend by using a "blending egg" or a flat foundation brush. Regular foundation brushes will drag too much. You can pick up a blending egg at your local Sephora or Walgreen's.
I start on the nose and blend the highlighted areas by tapping them into my skin, and blend the dark areas with small, circular motions.
4. Lastly, I add blush with the same circular motions using a blush brush, applying it over my jawline and blending up a litte, as to create a slight gradient. For a more matte look, add a translucent powder over the top, or simply leave it gorgeous and dewy.

xoxo