hello Polish photo Image Map
Showing posts with label polish. Show all posts

Thursday, March 13, 2014

3.13.14

Behind the Scenes. It's my thing. The hair, the makeup, the shoots. So far in life, I've been able to grasp all these outlets aside from one: Video.
You can see the light go out in my eyes when someone mentions me making a video for any purpose. Wha, Whaaaat? I didn't even know where to begin. I opened iMovie and quickly gave up. That was about the hardest I tried.
Then, I found out you could do it in Photoshop *hears the angels singing*.  Duh, of course you can. I was an idiot for not thinking about it before, looking it up, or trying it. REGARDLESS of my ignorance, I began dabbling and have made a few things so far! I can feel this new addiction creeping in.

Here is the second video I completed. I hope to do more tutorials on YouTube soon!


xoxo

Tuesday, February 25, 2014

2.25.14

 No one likes a flat-face Francis! Contouring can make a literal balloon look like a Kardashian.
Shall we start?

To prep, I wash my face, moisturize, apply my eye-makeup and a light coat of foundation.

1. Using a neutral concealer, I start on the inside of my face, and work my way out, beginning with highlighting the bridge of my nose and between the brows. I then apply the concealer to the underneath of my eyes in a triangular shape. Next, I highlight above my brows to define their shape, directly above my jawline, and the tip of my chin.
2. This is the part where you're supposed to look like an alien. Don't panic.
I like to use an ash (grey) based, dark concealer for my contouring. If its too warm, it can look muddy. I apply along the sides of my nose, making sure I don't leave much of the highlighted area to be shown. If the highlighted area is too wide, the nose will look larger instead. Next is the most crucial part. Find the natural dip below your cheekbone (or create your own!) and apply. It will look dark at first, but it will be blended! Continue the cheekbone application up through your hairline. I also like to continue this line to the sides of my chin, as I have a rounder face.
3. Blend by using a "blending egg" or a flat foundation brush. Regular foundation brushes will drag too much. You can pick up a blending egg at your local Sephora or Walgreen's.
I start on the nose and blend the highlighted areas by tapping them into my skin, and blend the dark areas with small, circular motions.
4. Lastly, I add blush with the same circular motions using a blush brush, applying it over my jawline and blending up a litte, as to create a slight gradient. For a more matte look, add a translucent powder over the top, or simply leave it gorgeous and dewy.

xoxo

Wednesday, December 11, 2013

12.11.13

 
Brows for days!!! If you know me personally at all, you know that I am obsessed with a good brow. Today, I hope to share with you my simple steps for a natural and defined brow.

1. I begin with grooming. I use a double sided brow brush to comb them upward and find my natural line. Tweeze anything underneath that looks out of place, while still leaving the shape. I use this brush along with a pair of small scissors to trim them. Comb upward and downward, trimming anything that appears above or below the tweezed lines. Be gentle to not trim much near the end; most brow ends are sparse. The biggest tip I can give, is to never over-tweeze, especially on the top. I leave my arch there, as I remove maybe 5 hairs from the top of my brows.

2. Anastasia Dipbrow Pomade is the best product, in my opinion! I have it in auburn.
It doesn't move but it's easy to get dimension, and isn't too harsh. Tarte Waterproof Clay Mousse is my next choice in product.
I dip the end of my angled brush in the pomade and start by drawing a line along the bottom of my brow. This should be the darkest part. Start a finger width apart from the inside of your brow because the inside should be lighter.

3. Next, I find the tip of my arch and shade it in. I drag my brush (pencil, if you prefer) from the point of the arch to the end of my brow.

4. Now I gently shade in the top, beginning from the same point as the bottom line drawn earlier, and connecting it to the arch.

5. For the middle, I turn my brush to a 90 degree angle from my face, so it is flat. I don't use any more product than what was on my brush from the previous step. I create a slightly rounded square, that is noticeably lighter than the rest of my brow. To blend, I take the brow comb and brush through them.

6. Clean-up is last. A highlighter pencil is my choice, but a concealer stick or concealer on a brush works great as well. I dust around my brows with this, defining them and removing any unwanted smudges. Blend this well.


Thank you so much for reading.
xoxo

Sunday, September 22, 2013

9.22.13


 It's officially the first day of fall!
I love bold lips because the rest of my makeup can be simple, and I still look polished. These are some of my favorites of the season.


 1//2//3//4
Thanks for reading,
xoxo

Friday, September 20, 2013

9.20.13


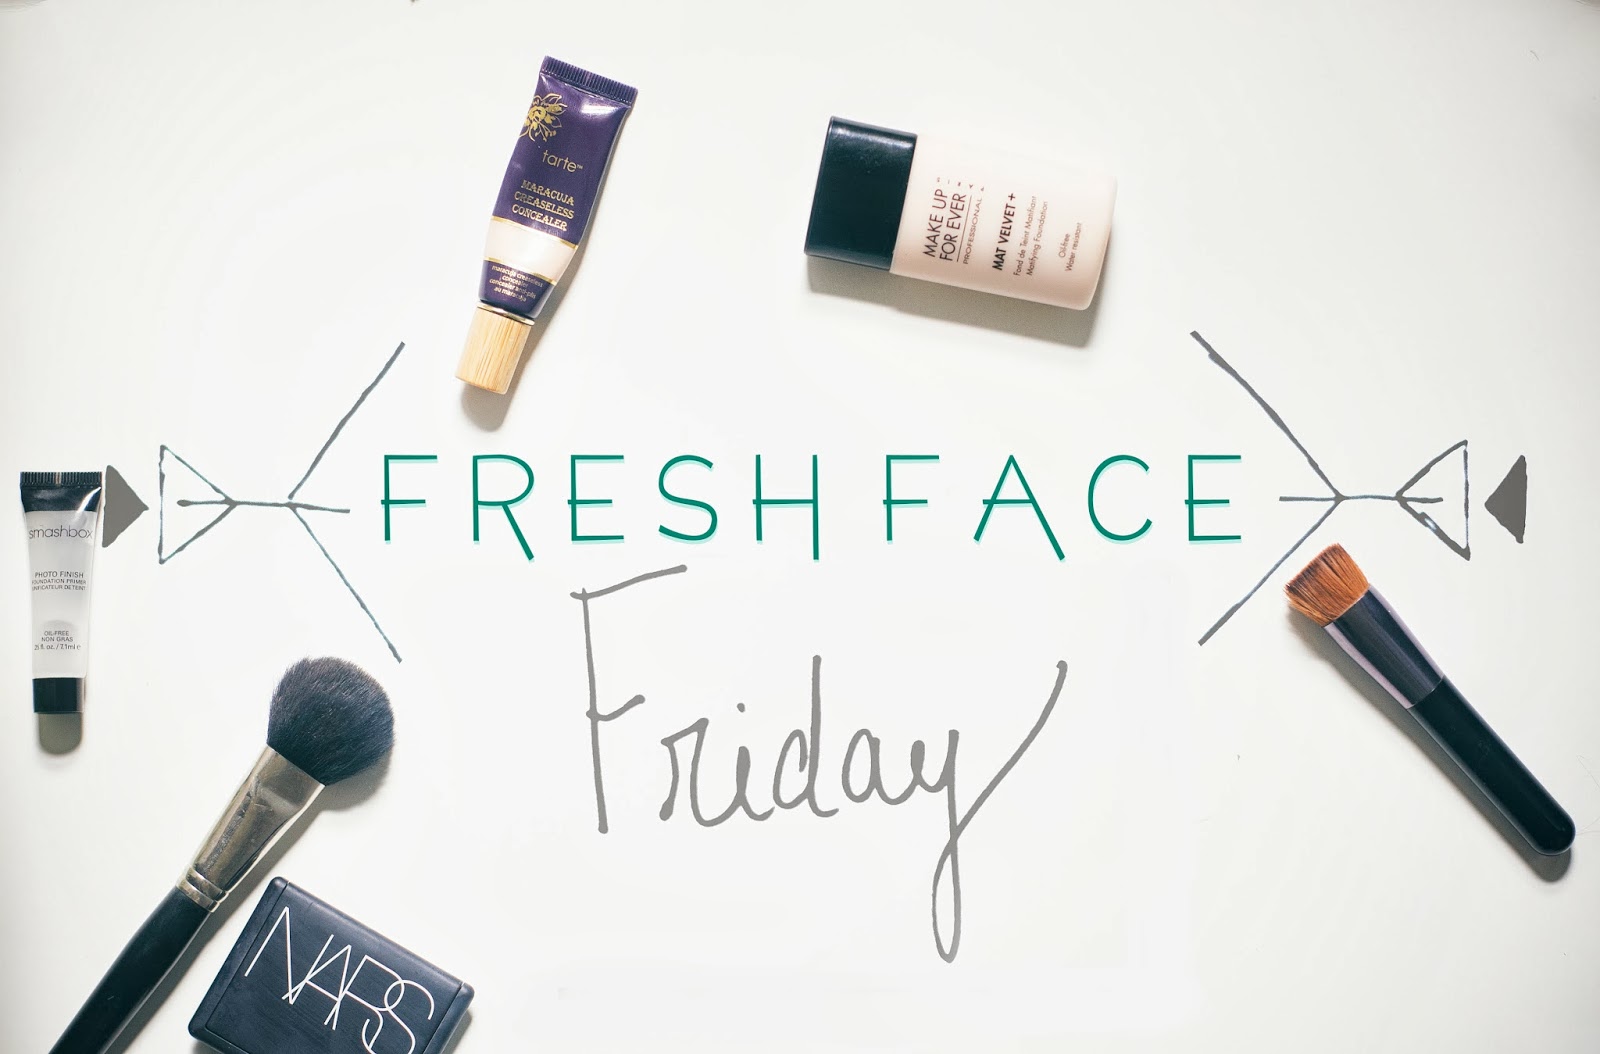
Makeup is my favorite! Skin care is important.

I get this overwhelming sense of joy when I step into a Sephora or Ulta. A child-opening-a-christmas-present kind of happy, guys. My life goal is to have a swimming pool filled with gobs of makeup, so I can swim in it like Scrooge McDuck.
As much as I die over that stuff, I wasn't always the best at taking care of my canvas. A fresh, flawless face starts with healthy skin.


 I start with a daily routine of a cleanser, a toner, a moisturizer, and I use tea tree oil as a spot remover when blemishes sneak up on me. After that, I prep my eyes.
This is the greatest tip anyone has ever given me.
Start with the eyes.
I live by this, and if you don't do it already, I'm begging you to try.
The fall out from the eyeshadow and mascara can be super messy, so if I do the eyes first, I can simply wipe it away, instead of trying to cover it up post-foundation.

When the eyes are done, I apply a primer.
Not only does primer help my makeup stay on all day, but it also helps me use half as much foundation as I normally would. This is the primer I'm currently using, but my favorite cheap-o is this! Don't knock it until you try it.

I apply a dime sized amount, and apply; starting with the nose, and working my way out.

Foundation time. I use Mat+Velvet by Make Up Forever.
This is probably the most important product you will use on your face. It doesn't only cover the whole face, but it stays there all day. This is not something I skip on. Cheap foundation contains harsh and toxic chemicals that will clog the pores and damage the skin.
Investing in a foundation is a big step, but one you will not regret.

Concealer! I have horrible dark circles. If I'm not wearing it, people normally ask me if I "feel okay" or if I'm "tired". No, my face is just discolored, thanks for asking.
Lifesaver!

I have a nice ole' case of "foundation lips" going on here. I have to define my lips after foundation or I just lose them (and thats hard to do with my lips..) For a natural look, try a nude lipstick or lip-liner.


To finish off my simple, fresh look, I added my favorite blush underneath my cheek, and blended upward to the bottoms of my apples. Next, I added a highlighter to my cheek bones, and the corners of my eyes.
Plus some lipstick to polish!

 Thanks for reading!